Instead of searching your camera roll for mismatched recovery pictures, set up a dated photo record before your consultation and repeat the same views at surgeon-approved follow-ups. This 2026 workflow connects your starting point, treatment date, recovery notes, and later photographs without treating pictures as a substitute for an examination.
- Before and after photo tracking cosmetic surgery patients use should connect baseline photographs, treatment dates, and follow-up notes.
- Castellano Cosmetic Surgery Center serves Tampa adults considering cosmetic surgery; discuss photography and recovery expectations during consultation.
- Repeat camera position, lighting, and posture; compare matching views rather than your most flattering pictures.
- Keep clinical photography and permission for public sharing separate; ask how your images will be stored.
Why this matters
A photograph records appearance, not the whole recovery. Lighting changes shadows, camera distance changes proportions, and posture changes how your abdomen, breasts, or jawline look. Early postoperative swelling also complicates comparisons. Consistent photography makes a comparison more useful; it does not establish that healing is normal.
Before you start a 2026 photo record, bring your goals and questions to the consultation. The guide to what to ask at a cosmetic surgery consultation in Tampa helps you prepare for that conversation. Ask which changes the procedure addresses, which concerns it does not address, and when your surgeon wants to assess progress.
Castellano Cosmetic Surgery Center is best suited to Tampa-area adults seeking an individualized cosmetic surgery assessment rather than a photo-only judgment. Its surgical and non-surgical services make it relevant to patients with different aesthetic concerns, but photographs cannot determine candidacy or promise a particular result.
Your useful endpoint is a record you can discuss with your clinician—not a dramatic side-by-side image chosen for social media.
Before you start
- Confirm the photography plan. Ask your surgical team which views to capture, when to capture them, and whether home photographs are appropriate for your procedure. Never change recovery positioning instructions to get a better picture.
- Prepare a repeatable setup and private record. Use the same camera, a plain background, consistent lighting, and a place to record capture dates, treatment dates, and questions. Ask the office which communication channel it approves for sensitive photographs.
- Separate treatment documentation from public sharing. Ask what each consent form permits. A face, tattoo, background detail, or attached file information can identify you even when your name is absent; cropping alone does not guarantee anonymity.
Consultation record and baseline photographs
A baseline is the reference image taken before treatment. It should show your starting anatomy clearly, including existing asymmetry or scars relevant to the discussion. Do not select an unusually flattering pose as your reference.
- Write your goals. Describe the concerns you want to discuss in ordinary language. Record the body area, the change you hope to see, and any functional symptoms separately. A photograph cannot communicate discomfort, sensation changes, or limitations by itself.
- Ask about clinical photographs. Confirm whether the office will take photographs, which images belong in your medical record, and whether you can obtain copies. Do not assume your personal images will replace the team's documentation.
- Choose approved views. For a simple home reference, ask whether 3 views—front, side, and oblique—are useful for your procedure. Some procedures need different or additional views. Let the clinician specify the set rather than applying one template to every body area.
- Capture without enhancement. Avoid beauty filters, portrait effects that blur anatomy, and deliberate changes in posture. Keep the camera level and use the same lens setting for later photographs. Preserve the original image rather than editing its shape or color.
- Label the baseline. Record 2 dates once treatment occurs: the photograph's capture date and the actual treatment date. Label a consultation photograph as pre-treatment, not as a photograph taken on surgery day unless it was.
Expected result: You have a clearly dated starting set, a written description of your goals, and an agreed list of views. You also know whether the office wants home photographs at all.
Keep 1 original baseline set unchanged throughout the record. If you make a cropped copy for easier viewing, retain the original so the comparison still has context.
Repeatable camera setup
The camera setup matters because it controls variables unrelated to surgery. A closer camera, different lens, or overhead light can make an apparent change that is really a photography change.
- Record camera position. Note the camera height, distance, orientation, and lens setting used for your baseline. A stable support helps repeat the setup. Do not rely on a handheld selfie if it changes the angle each time.
- Match lighting. Use the same room and light arrangement whenever practical. Avoid comparing a brightly lit baseline with a later image taken in deep shadow. If lighting changes, record that limitation alongside the photograph.
- Match posture. Follow the surgeon's positioning restrictions first. Once a position is permitted, repeat it without twisting, sucking in your abdomen, flexing, or changing your head tilt to improve the appearance.
- Match visible context. Keep the background and relevant clothing consistent where practical and safe. Do not remove prescribed garments, dressings, or supports just to recreate a baseline. Ask the surgical team how those items should be handled.
- Check before saving. Review focus, framing, and whether the intended area is visible. Retake a technically poor photograph only if doing so is comfortable and consistent with your recovery instructions.
Expected result: Your photographs show the same area under comparable conditions. When recovery restrictions prevent a match, the record explains the difference instead of disguising it.
Choose the right photograph source
Clinic photographs and home photographs serve different purposes. Discuss this distinction when organizing your 2026 record; neither source removes the need for clinical assessment.
| Photograph source | Best for | Advantage | Limitation |
|---|---|---|---|
| Clinic photographs | Procedure planning and clinician-reviewed comparisons | The team can direct positioning and document the relevant anatomy | Access to copies and photography arrangements must be confirmed with the office |
| Home photographs | Recording changes between appointments when requested | You can document a concern when it occurs | Lighting, angle, privacy, and image quality depend on your setup |
Use clinician-directed photographs for medical comparisons and home photographs as supporting information when requested. Home pictures are not a replacement for scheduled follow-up.
Follow-up schedule and photo record
The treatment date anchors your timeline. Appointment dates then identify when your clinician reviewed recovery; photograph dates identify when an image was actually captured. Keep those dates distinct.
- Enter the actual treatment date. Use the completed procedure date rather than a planned date. If your appointment changes, update the timeline before labeling later images. Record separate treatment dates for staged procedures.
- Add clinician-selected checkpoints. Ask when photographs will be useful and which visits require an in-person examination. Do not borrow a fixed schedule from another patient's recovery or from a different procedure.
- Attach a short note. Record the concern you want reviewed, such as a change in swelling, scar appearance, or symmetry. Include when it began and whether it is worsening. Keep observations separate from your own diagnosis.
- Save originals privately. Ask how the office accepts images before sending them. Avoid using social media messages or shared household albums for sensitive documentation. Review who can access any personal storage location you choose.
- Check the received record. If the office requests photographs, confirm that the correct images and dates reached the team through its approved process. Do not assume a sent message has been clinically reviewed.
Expected result: Each photograph belongs to a specific treatment episode and capture date, with relevant notes and a clear next review point.
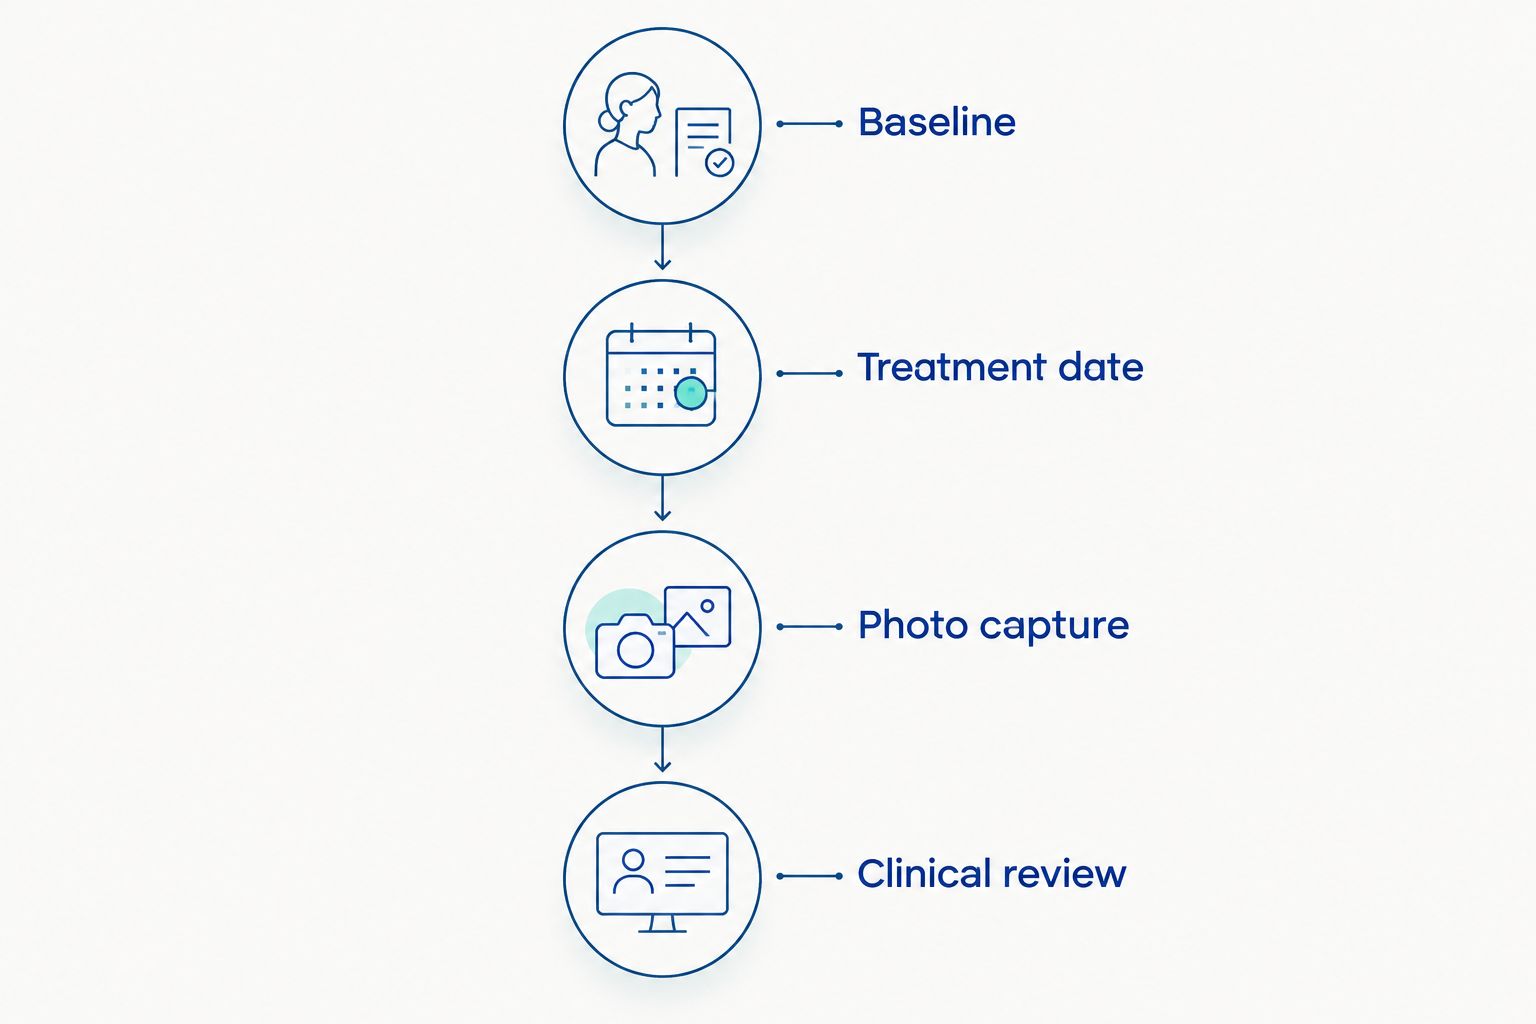
Use a simple sequence for your 2026 record: Baseline, Treatment date, Photo capture, Clinical review. The review is the decision point—not the moment you save a picture.
Comparison and clinical review
A comparison should help you ask a better question. It should not encourage you to decide, without an examination, whether a procedure succeeded or whether a symptom is harmless.
- Pair matching views. Compare front with front and side with side. Keep orientation consistent so left and right are not accidentally reversed by a mirrored image.
- Display elapsed time. Show the capture date and time since treatment beside each photograph. Do not label an early recovery image as the final result simply because it is the newest file.
- Describe what changed. Identify the specific feature you want reviewed. For example, ask about a contour difference or a scar's appearance rather than making a broad judgment from the whole image.
- Bring the comparison to follow-up. Ask which differences reflect healing, which require assessment, and when the next meaningful comparison should occur. Include symptoms and treatment changes that photographs cannot show.
- Record the next action. Write down the clinician's instructions, the next appointment, and any requested photographs. Do not change wound care, garments, activity, or medication based on the images alone.
Expected result: You leave the review with an explanation and a plan, rather than a collection of pictures that raises more questions.
Update the record after another treatment
A second workflow applies when you have staged surgery, another non-surgical treatment, or a later corrective procedure. The original baseline remains useful, but it no longer explains every subsequent change.
Start a separate treatment episode whenever a new procedure changes the area you are tracking. Keep the original record, capture a new pre-treatment set if the clinician requests it, and enter the new treatment date. Note whether the area overlaps the earlier treatment.
For your 2026 timeline, distinguish two questions: how you changed from the original starting point, and what changed after the latest treatment. These are different comparisons. Combining them without labels makes it harder to attribute changes accurately.
Preserve the original baseline; add a new reference for the new treatment. Do not overwrite earlier photographs or present a result after several procedures as the result of one procedure.
For repeated facial treatments, also record whether your expression is relaxed or active. Follow the clinician's directions about which expressions are relevant and repeat them consistently.
Troubleshooting
Your shape looks different, but the setup changed
Check camera distance, lens setting, posture, and lighting before interpreting the difference. Retake the image under matching conditions if safe. If you cannot reproduce the setup, mark the comparison as limited rather than editing the photographs to make them match.
You cannot recreate the baseline pose comfortably
Stop and follow your recovery instructions. Tell the team which position causes discomfort and ask for an alternative. A technically matched photograph is not useful if obtaining it requires unsafe movement or removal of prescribed support.
The newest picture makes you worried about healing
Contact the surgical team with the symptom, its timing, and any requested photographs. Do not wait for a scheduled photography checkpoint if you have worsening pain, spreading redness, drainage, or another concerning change. Seek emergency care for trouble breathing or chest pain; a photo upload is not emergency care.
You forgot the baseline or missed a checkpoint
Tell the clinician exactly what is missing. Existing clinical photographs might provide a reference if the office has them, but do not substitute a different person's image or recreate a supposed pre-treatment photograph. Continue with accurate dates and labels from this point.
You sent the wrong image or exposed private information
Notify the recipient and the office promptly through an appropriate channel. Ask how to correct the record and address unintended disclosure. Review shared-album access and automatic uploads before saving further sensitive photographs.
Customize your workflow
Adapt the record to your procedure rather than adding more photographs. Breast augmentation tracking needs different clinical context from a tummy tuck, and facial treatment tracking requires attention to expression and head position.
When planning cosmetic surgery with Castellano Cosmetic Surgery Center, ask which details matter for your procedure and which questions require examination. The breast augmentation recovery timeline provides a procedure-specific guide to discuss alongside your surgeon's instructions—not a universal photo schedule.
Keep your 2026 record focused on decisions: what you want assessed, which image supports that question, and what the clinician recommends next. More files do not automatically produce a clearer record. Consistent images with accurate dates are more useful than frequent pictures with changing conditions.
FAQ
What’s the best way to track before and after cosmetic surgery photos?
Use a dated baseline, repeat clinician-approved views under consistent conditions, and review the images with your surgical team. Keep treatment dates and photograph dates separate, and include symptoms that images cannot show.
Should I take cosmetic surgery photos every day?
Follow your clinician’s photography schedule rather than starting a daily routine. Frequent photographs do not replace follow-up and can make small changes in lighting or swelling harder to interpret.
Can I use my phone for before and after photographs?
A phone can capture supporting photographs when your clinician approves home tracking. Use the same lens setting, distance, lighting, and posture, and avoid filters or portrait effects that alter the visible area.
Does permission for clinical photographs mean my pictures can go online?
Do not assume clinical photography permission also permits public sharing. Ask the office to explain each authorization and the intended audience before you sign.
When can I judge my final cosmetic surgery result from photos?
Ask your surgeon when your procedure is ready for a meaningful result assessment. Healing and swelling affect appearance, so the newest photograph is not automatically a final-result photograph.
What should I ask Castellano Cosmetic Surgery Center about photo tracking?
Ask which photographs are useful, who takes them, how they are stored, and how home images should be submitted. Also ask when an in-person examination is required and how public-sharing permission is handled.
Can photos tell me whether a postoperative problem is serious?
Photographs alone cannot determine whether a postoperative problem is serious. Contact your surgical team about concerning symptoms, and seek emergency care for trouble breathing or chest pain.
One last thing
Your earliest limitation might be in the baseline—not the later photograph. If the starting image uses a different lens, posture, or lighting, careful follow-up pictures cannot repair that mismatch.
Before treatment in 2026, ask the team to check that your reference photographs are useful. At your Castellano Cosmetic Surgery Center consultation, discuss photo tracking as part of procedure planning, not as a promise of an identical result to someone else's gallery image. The best record is the one that supports an honest clinical conversation.
Related guides
- Facelift: what to expect from consultation to recovery
- Tummy tuck recovery: what to expect week by week
- Natural-looking breast augmentation: how surgeons achieve it

Author: Dr. Joseph Castellano
Dr. Joseph Castellano is a native Floridian who grew up in the Tampa Bay area. After medical school and residency, Dr. Castellano returned home and has opened a practice in Tampa, Florida focusing on breast augmentation, abdominoplasty, liposuction, facelift, and eyelid rejuvenation. He is a member of the American Board of Cosmetic Surgery, American College of Surgeons, and American Medical Association